Building a mailing list is one of the best things you can do for your business. If you’re reading this article you probably know that already and even have some ideas for content to give away (e.g. email course, ebook, checklist, webinar, etc.). Usually you will build landing pages for each piece of content that you are giving away and if you are using Mailchimp for your mailing list they now have a landing page builder you can use.
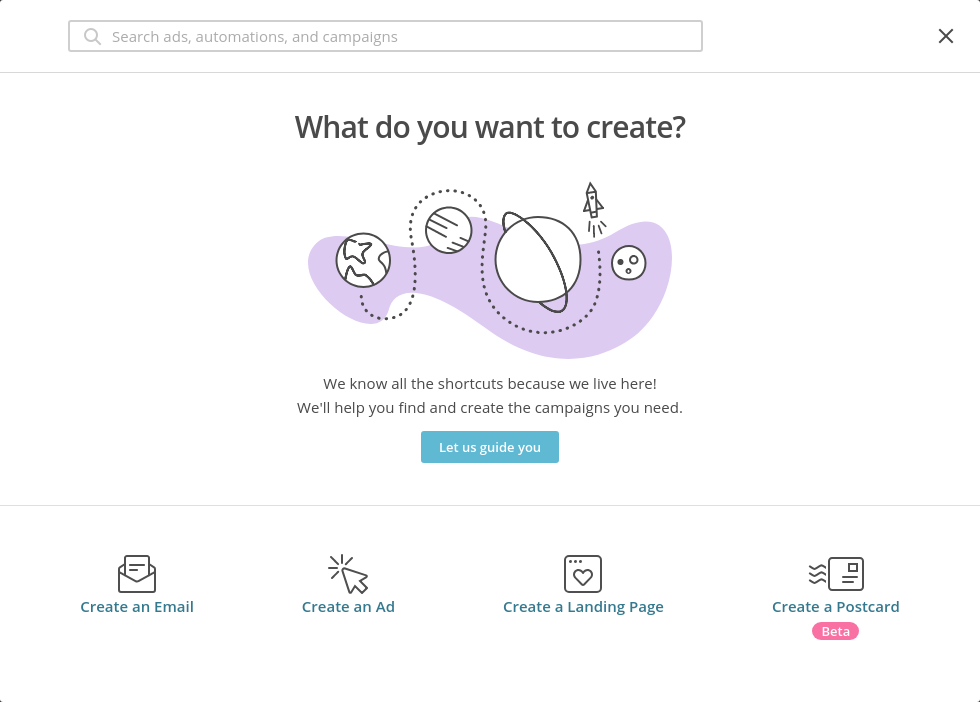
When you are logged into Mailchimp start by clicking on “Create” in the upper right of the dashboard. Next click on “Create a Landing Page”.
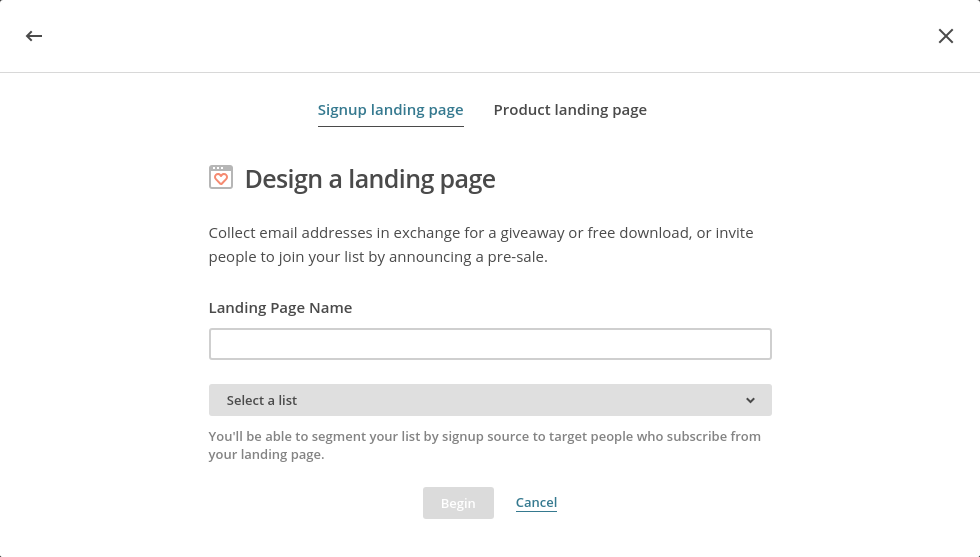
Give your landing page a name and select the list you are going to be subscribing them to.
You will now see the landing page template that you will modify.
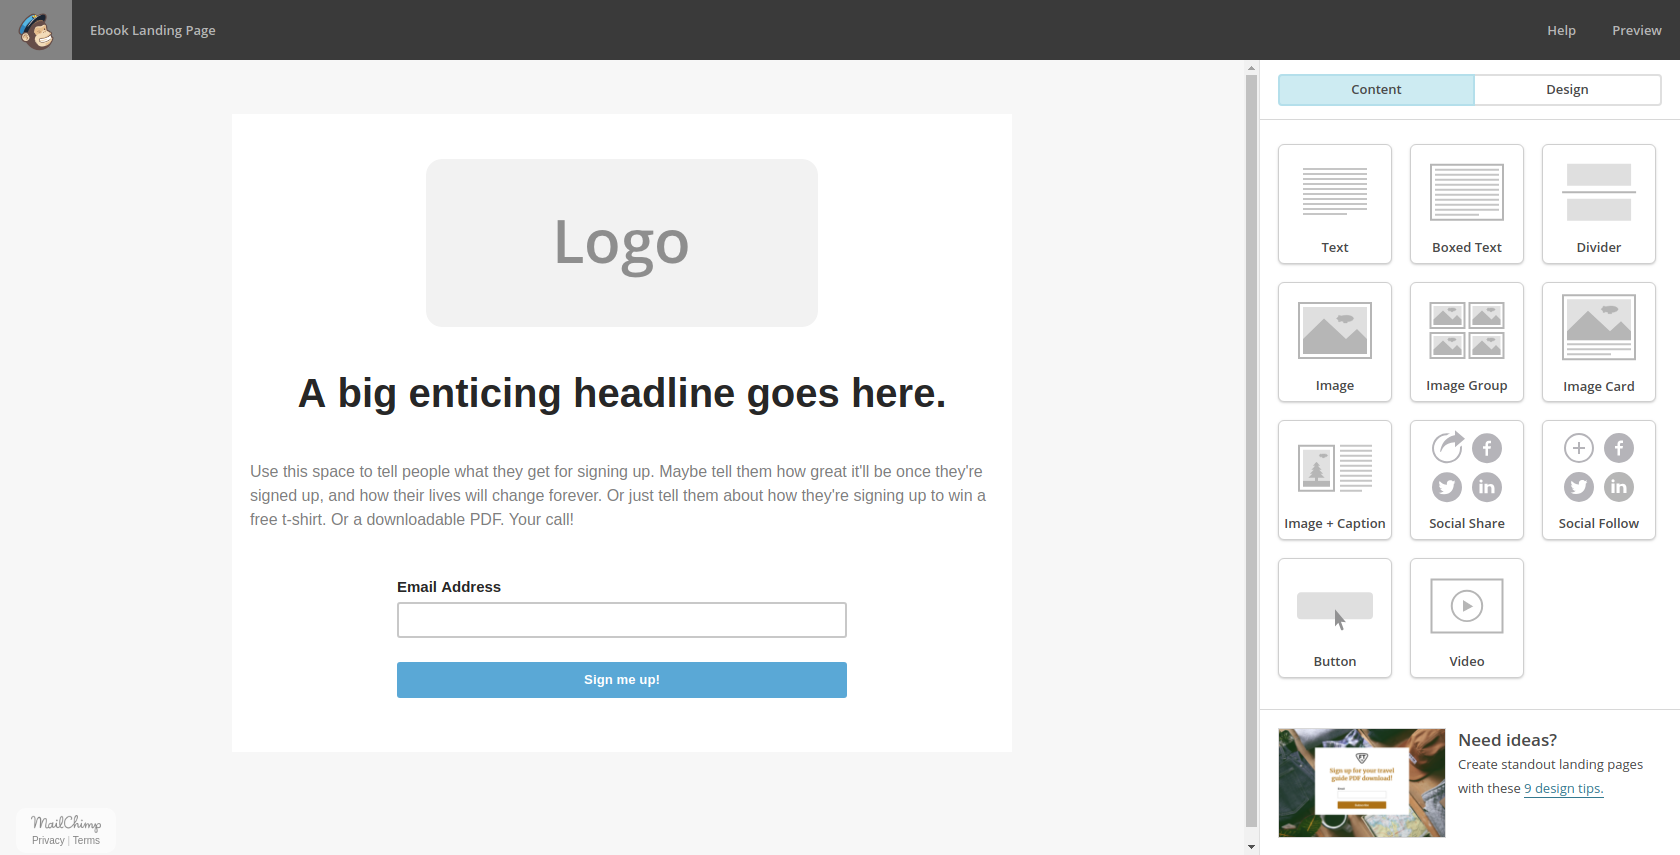
Start by clicking on the logo you see at the top of the page. A frame will open on the right and you can select your logo. If you haven’t already selected a default logo you will click on “Replace”. Click on your logo and then click “Insert”. (I’m using my small business people operations software as an example here as my marketing there focuses on productivity.)
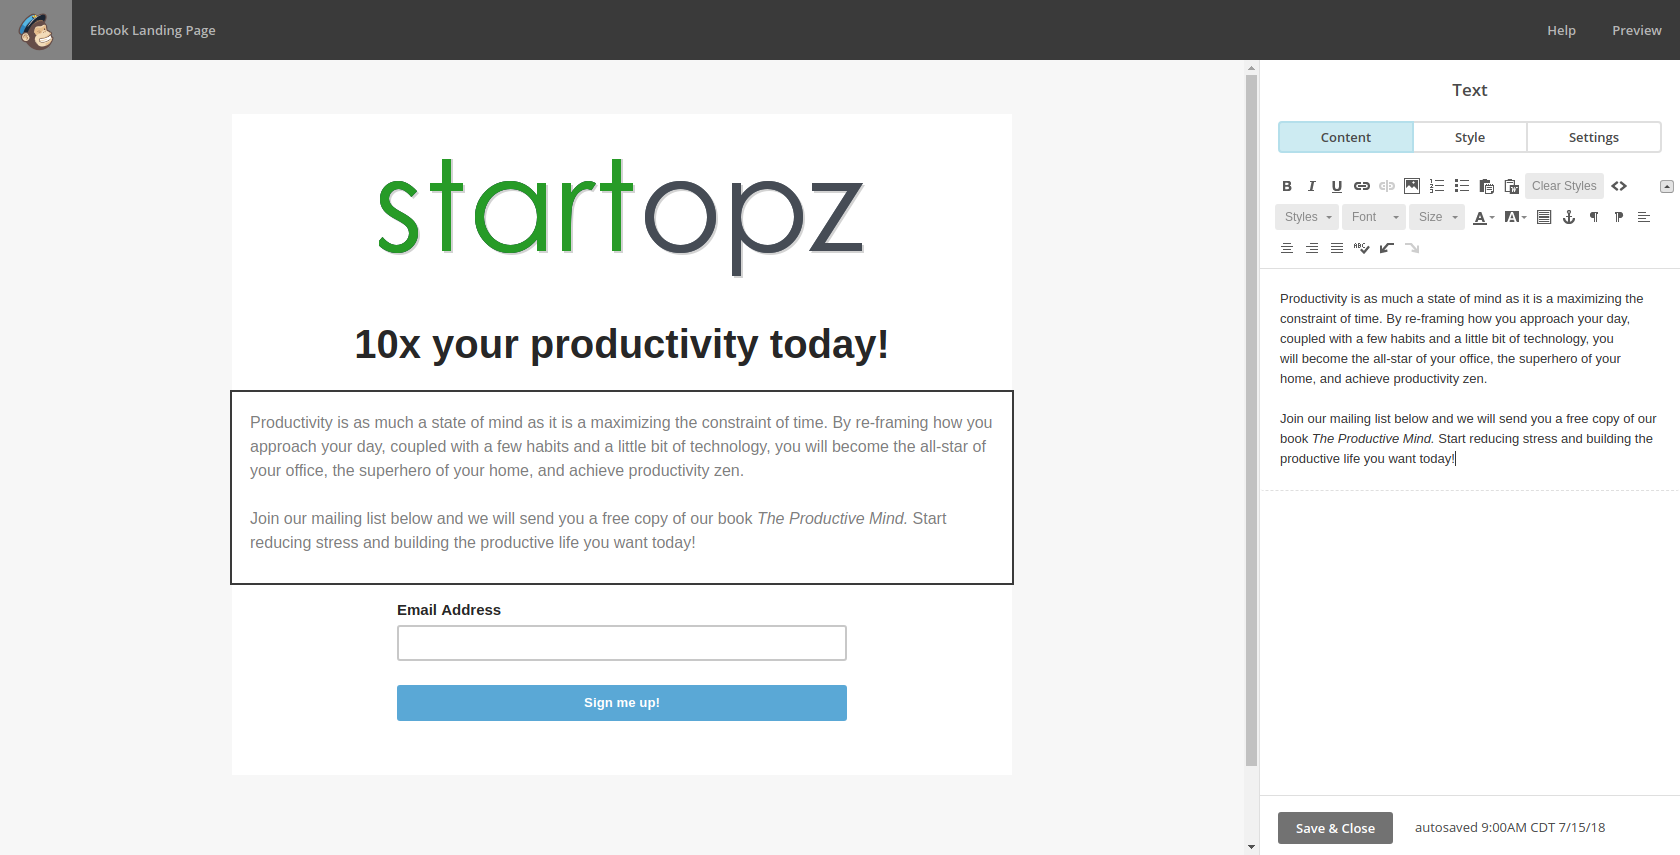
Now is the hardest part of the whole process–writing copy. Start by clicking on the headline and enter something eye catching. Promise your visitor a better version of themselves if they sign up for your mailing list. Click on “Save & Close”.
That lofty promise you made in your landing page headline needs to be backed up. Click on the paragraph and enter how you will deliver on your promise of more money/time/sex appeal. Click on “Save & Close”.
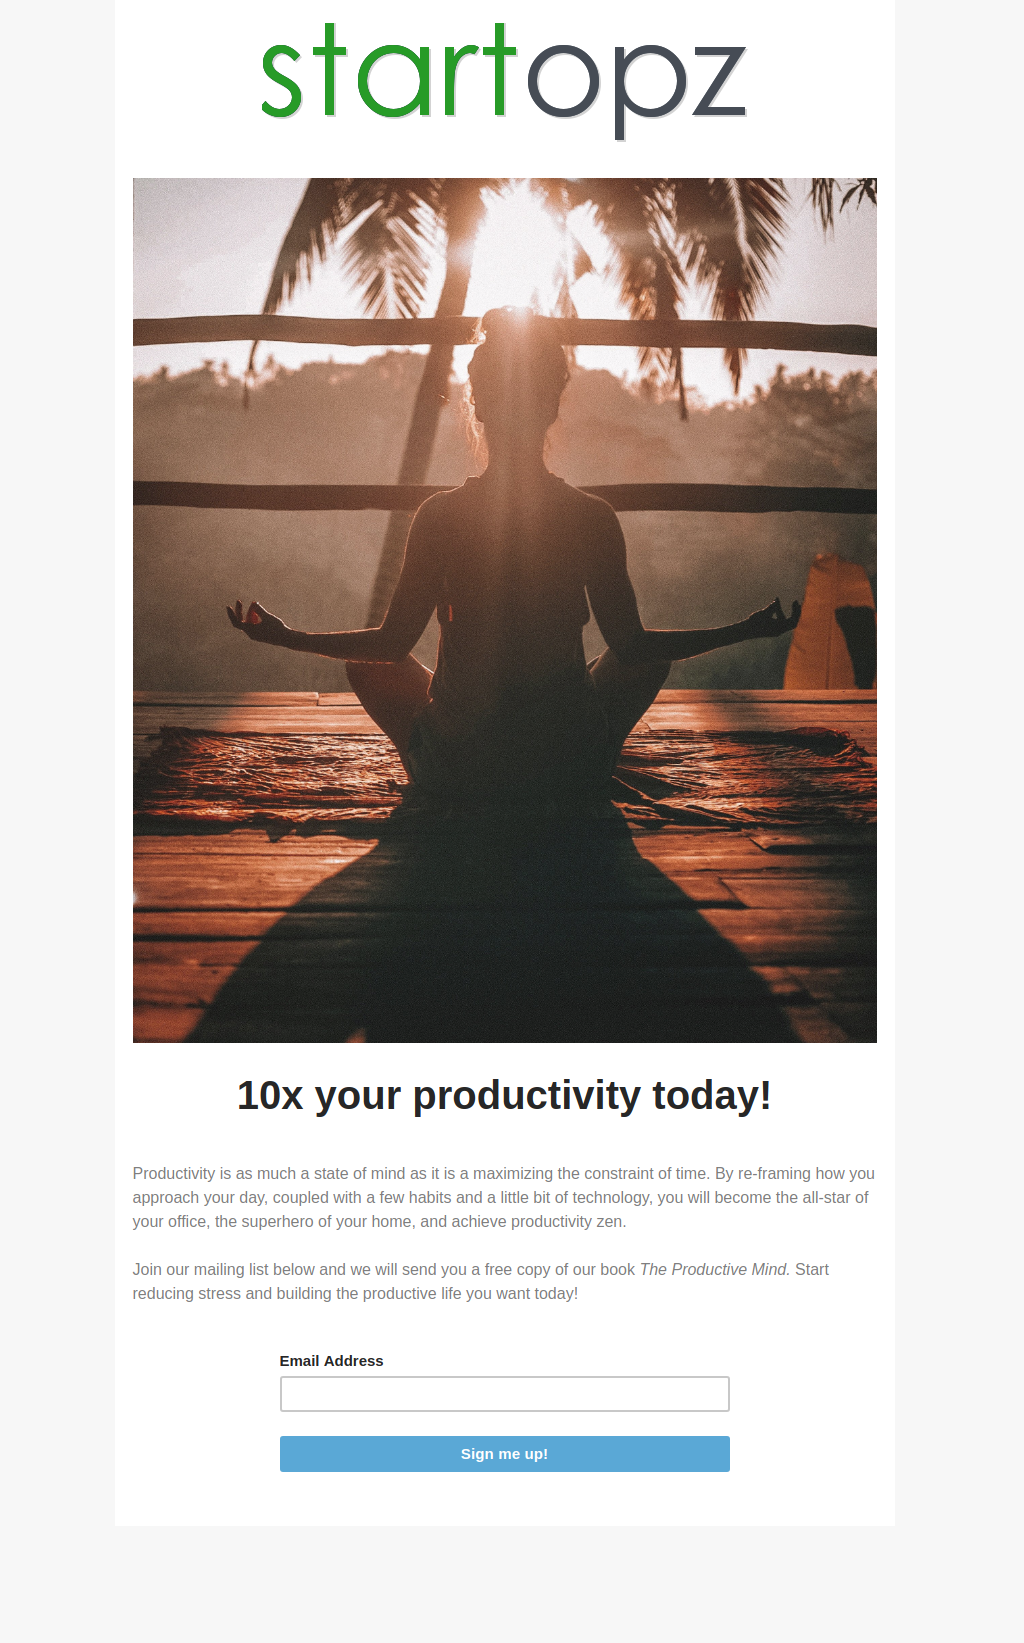
Most of the times you’re going to want some sort of image on your landing page. Often for ebooks you might include the cover of the book but for this example I’m just going to grab an image from Unsplash and insert it above my copy but below my logo. (I went with this image by Jared Rice.) I do that by clicking on “Image” on the right and dragging it between the logo and the headline (at the top of the body section). You will see a blue frame appear that says “Drop block here.”
In the right pane click on “Browse” and select the image you want to add. Click “Upload” in the upper-right if you are uploading a new image. Click on Insert.
If you are all done then click on “Save & Continue” in the lower-right. You now need to enter a page title and a URL. (If you are on a paid plan you can use your own domain name.)
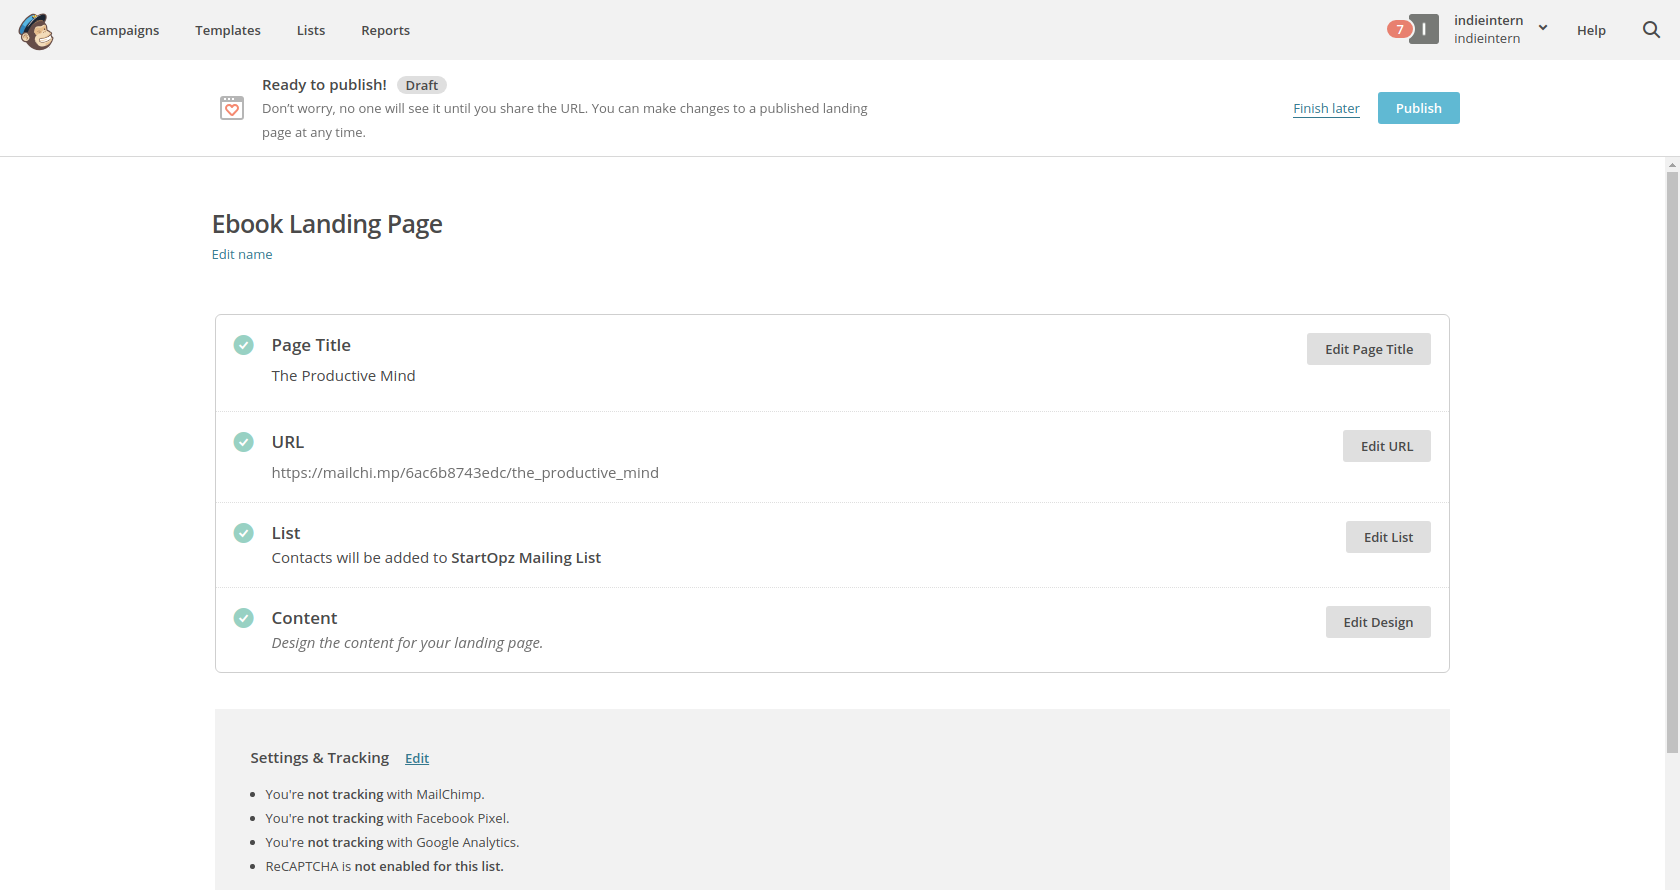
If you are using Google Analytics you will want to connect that to your landing page by clicking on “Edit” at the bottom of the page next to “Settings & Tracking”.
Click on “Publish” and you will see your new landing page!